Angel Food Cake
Angel food cake is so appropriately named. It's white, fluffy, and it's fat-free. But you know, when I imagine angels, I imagine chunky, multiple belly roll sporting babies (with wings), which doesn't quite support the fat-free description, huh? Maybe the angel food cake is actually the soft white cloud that the chubby baby sits on? I don't know where I'm going with this train of thought.
To be frank, I think angel food cake is meh. I'm not saying it's not yummy but it's just not on the top of my list of delicious must-have desserts. However, it is a great way to use up egg whites and once in a while, it's not a bad thing to have some fat-free dessert (you're welcome, waistline). I make so many custards and ice creams (I'm sorry, waistline) and that means I end up with bowls full of egg whites on the regular and I can only make so many macarons, you know? I tend to collect the egg whites - usually 3 or 4 at a time - and keep them in a lidded container in the fridge. I'll keep adding to the collection with every custard that gets made and after a while, I have a full cup of egg whites. These "old" egg whites are perfect for whipping up a meringue and 1 cup is the perfect amount for my angel food cake recipe so here we go.

 The first step is to grab a clean and dry bowl; this is v. important. If there's any fat or grease or leftover food residue or anything grubby anywhere on the inside of your bowl, your meringue will not form properly. This alone should be incentive to do your dishes properly (at least your mixing bowls).
Dump your egg whites right into your clean and dry mixing bowl. If the whites are at room temperature they'll beat up quicker and it'll be easier to whip them up but no worries if they're cold (it'll just take a little longer). Whip your egg whites until they get foamy - like the bubbles in a bubble bath - and then add in a pinch of cream of tartar. Cream of tartar is an acid which helps to stabilize the egg whites and encourages them to beat up without collapsing (as easily). If you don't have cream of tartar you can use the tiniest bit of white vinegar; three or four drops should suffice.
 Whip in the cream of tartar and let the egg whites beat to soft peaks (like the foam on top of your cappuccino). Then, add in the sugar, 1/4 cup at a time, beating to fully incorporate each installment before adding the next, until the egg whites are stiff, sticky, and glossy. Then, whip in the vanilla extract and salt.
 Here's a little gif to show you the consistency the meringue should have - drippy but stiff enough to pile up and hold its shape and wonderfully sticky and shiny.
 Add in the sifted flour in two installments and carefully fold it into the whites with a rubber spatula. Use a gentle motion, doing your best not to deflate the meringue. Cut the spatula into the batter, scoop up from the bottom and basically flip batter from the bottom of the bowl up to the top, and then scrape the batter around the edge of the bowl and repeat until the flour is mostly incorporated. Err on the side of undermixed rather than overmixed.

 Pour your batter into an ungreased bundt pan or into a popover pan. The reason angel food cakes are usually made in a bundt pan is because the hole in the center allows heat to travel through the middle of the cake as well, forcing it to rise and grow lovely and fluffy. Popover pans allow you to make the angel food cakes in cupcake form since there's plenty of space around each tin for heat to move around.
 Smooth out the tops just a touch and then pop it into a 350F oven. A bundt pan will take 35 to 40 minutes. The popover pan will take 20 to 25 minutes.
 Oh, and you can make a chocolate version with just a bit of cocoa powder. Since I only had a little batter left, I just added 1 tablespoon to the bit that didn't make it into the popover pan. But, if you're making an entire chocolate version, use 3/4 cups flour (instead of 1 full cup) and add in 1/3 cup of cocoa powder.

 You'll know the cakes are done when you give them a little press and the dough springs back. If you leave an imprint of your finger, the batter needs to spend some more time in the oven.
 Gorgeous, right? Leave the cake(s) on a cooling rack to chill out for a while.

 Once the cakes have cooled, use a knife to unstick them from the pan and pop them out. For the tiny popover pans, it helped to give them a twist and a wiggle before actually pulling them from the pan. You can do the same thing with the bundt pan.
 The cakes should be fluffy and sticky and cute.
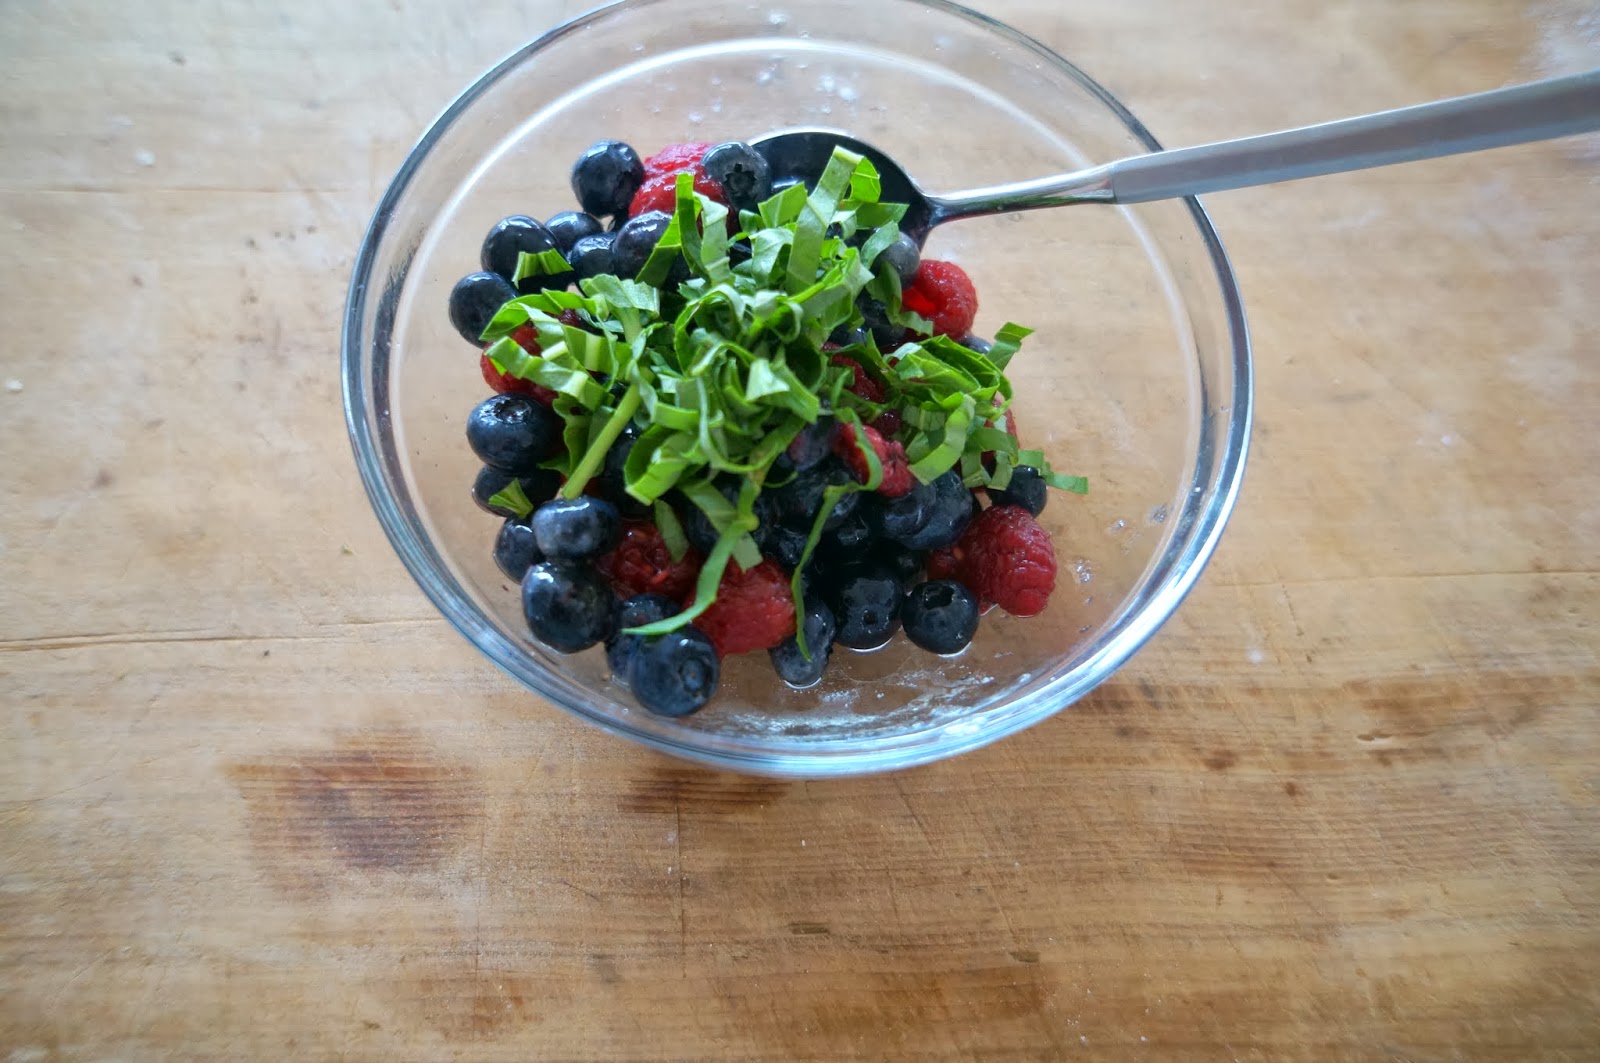
 I decided to serve my babycakes with some honey-macerated berries with a little basil. Mint would've been great too but I didn't have any on hand. We grow it in our garden but obviously, the garden is dormant right now. I stacked the leaves, rolled them up, and chopped them into ribbons, a.k.a. chiffonade.

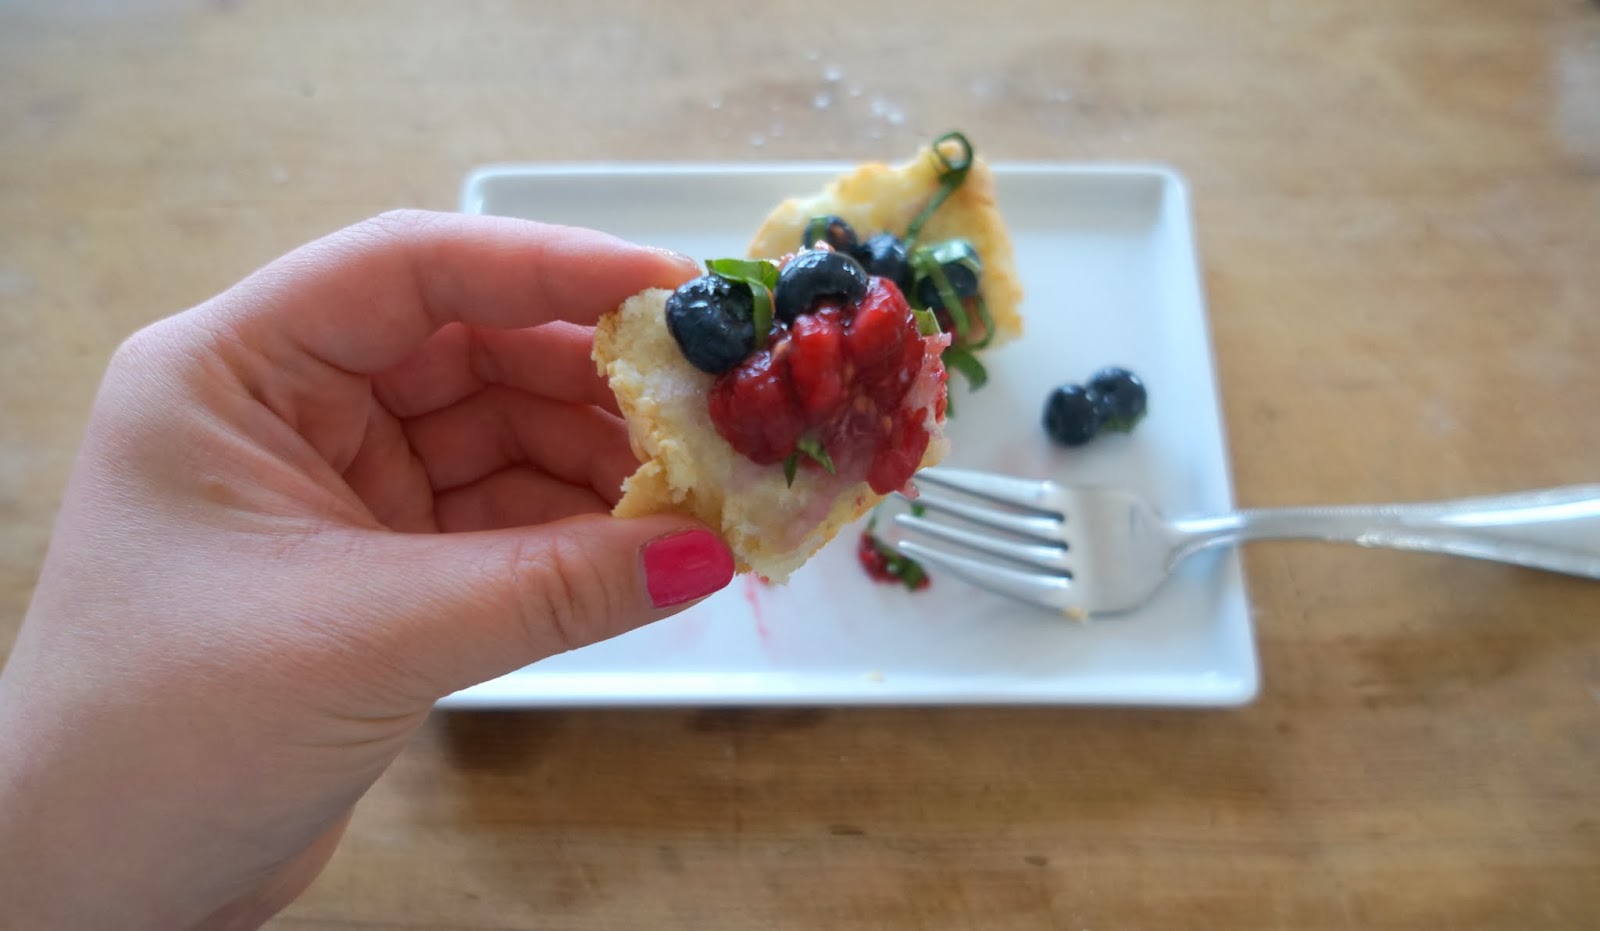
 I plopped the macerated berries right onto my cake. I sliced it open to make a lovely little pillow for the berries to rest on. If you're not a fan of berries you can use a little whipped cream, chocolate sauce, Nutella, honey, the topping ideas are endless.

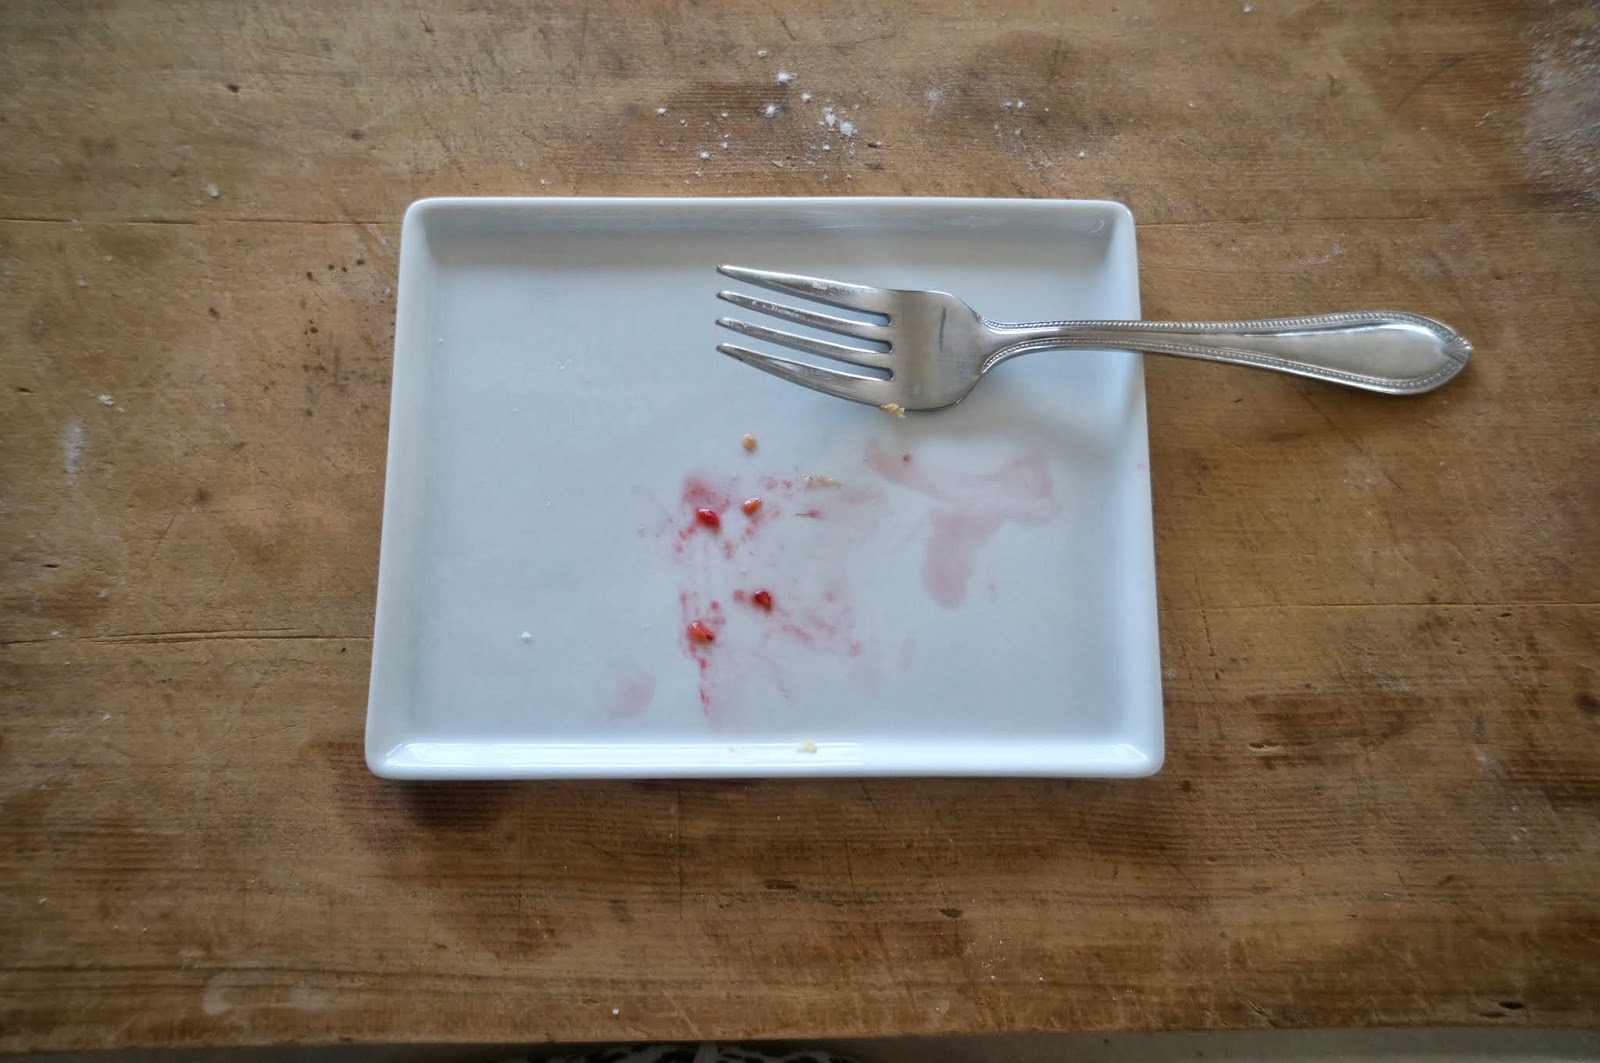
 After a while, the fork just becomes a hindrance and you just have to go for it with your fingers, you know what I mean?
 This cake is fluffy, sticky, soft, and pretty guilt-free. Obviously fat-free doesn't mean the same thing as calorie-free but hey, it's a step in a good direction if you're looking for a healthier dessert option.


Ingredients [batter will fill a 6 cup bundt pan or 6 to 8 popover molds]:
8 to 10 egg whites (1 cup)
¼ teaspoon cream of tartar
1¼ cup granulated sugar (use superfine if you have it)
1 teaspoon vanilla extract
½ teaspoon salt
1 cup flour, sifted (preferably cake flour but all purpose flour will work in a jam)
*or for a chocolate version, substitute 1/4 cup of flour with 1/3 cup of cocoa powder
*electric mixer - you could make this cake with a whisk but it will require much more time and muscle
Dump your egg whites right into your clean and dry mixing bowl. If the whites are at room temperature they'll beat up quicker and it'll be easier to whip them up but no worries if they're cold (it'll just take a little longer). Whip your egg whites until they get foamy - like the bubbles in a bubble bath - and then add in a pinch of cream of tartar. Cream of tartar is an acid which helps to stabilize the egg whites and encourages them to beat up without collapsing (as easily). If you don't have cream of tartar you can use the tiniest bit of white vinegar; three or four drops should suffice.
Here's the recipe page:
foodis good always and also good for body so please maintain the yoga practice.Life is going fast.
ReplyDelete