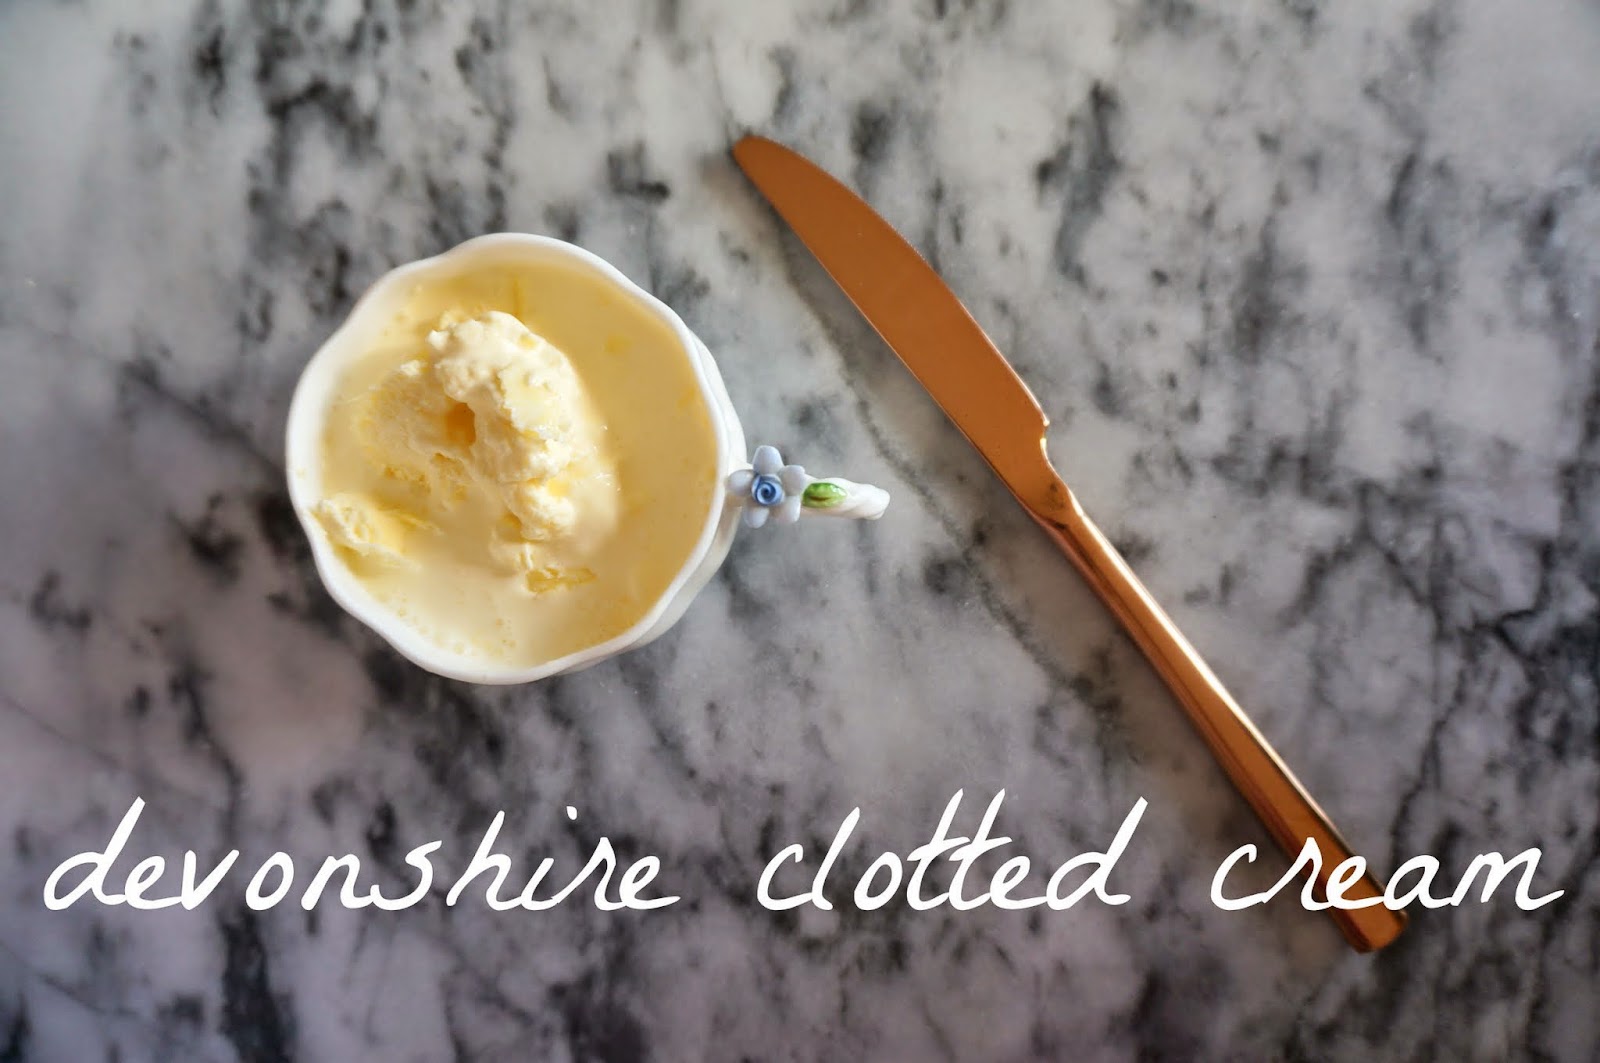
Devonshire Clotted Cream
I don't know why we don't have clotted cream in America. I mean, I'd happily trade all of the cauliflower in the country for a tub of clotted cream; though, I guess that speaks more to my dislike of cauliflower than my love for clotted cream.
Maybe it's because the word "clot" is kind of gross? We should just brand it as Devonshire cream and I think everyone would be quite okay with that. I don't think clotted cream is going to make its way over to the States any time soon, unfortunately. Luckily for me, it's easy enough to make clotted cream at home. The most difficult part is sourcing heavy cream that hasn't been ultra pasteurized. You need to use a low-temp pasteurized cream for this, and I'll explain why below.
Ingredients [yields 1 pint]:
2 pints heavy cream - not ultra pasteurized

So, I found these little excerpts from old British cookbooks that explain the clotted cream making process. Basically, the goal is to gently heat the cream to encourage clots to form and then chill the clots to farther solidify them.
In the olden days, it was more difficult to control the temperature of an oven so the heating process was done on the stove with a carefully watched double boiler and you are definitely welcome to use this method today. However, with technology on our side now, we can control our oven temperature rather easily and have no obligation to "babysit" the cream, so that is the method that I prefer and that is the method that I am sharing.
Most grocery stores will only stock ultra-pasteurized cream, which is a process that heats dairy to 280F. That basically ruins the cream and prevents clots from forming; like the quote above says, "if it boils, it spoils." So, you will need to source a cream that has simply been "pasteurized" or even better, "low-temp pasteurized." I bought my cream from Whole Foods, looking specifically for low-temp pasteurized milk and ended up with two adorable bottles.
Grab a shallow pan and then chuck it into another shallow pan. I like using a ceramic pan because it distributes heat well and it does it more evenly.
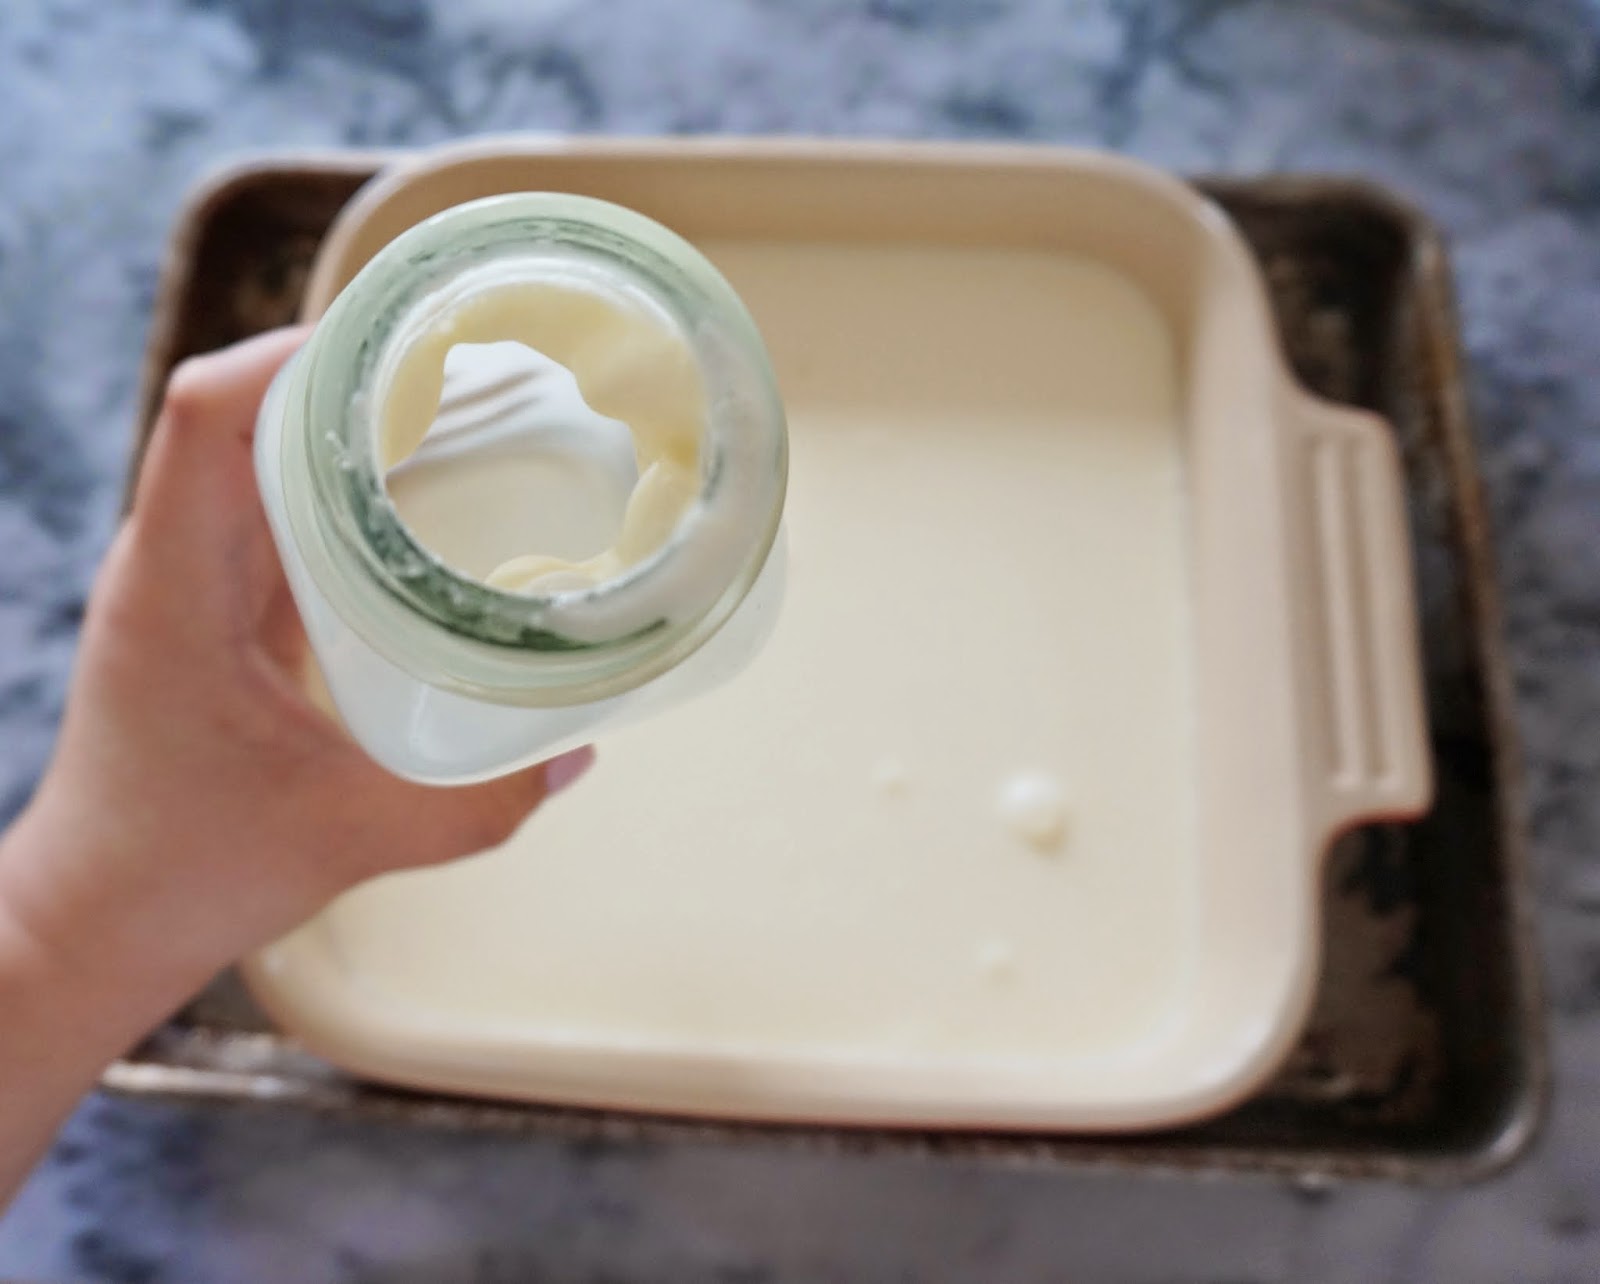
Pour the cream into the dish.
And scrape in any clumps (a.k.a. clots) because the existing clots will act as a magnet for the milk fat to stick to and it will grow.
Create a water bath by pouring hot water into the outer pan and then place the whole thing into a 180F oven for 6 to 8 hours. The water bath will help evenly heat the cream.
You want to leave the cream in the oven long enough for the surface to be filled with thick clotted cream that looks yellow and crackled.
Take the pan out and let it cool. Then, place the whole thing into the fridge to chill for at least 8 hours.
After it's been chilled, grab a slotted spoon and scoop the clotted cream off the surface. Apparently, the crackly top is quite good and loved by many a Brit and Scot, so make sure to salvage as much of it as you can. Oh, and save the liquid cream and use in your coffee or tea or whatever else.
So that's it; clotted cream is incredibly easy. It's a little time consuming, but really low-maintenance. Please come back because tomorrow, I'm sharing scones and I actually use some of this clotted cream!
Here's the recipe page:
Maybe it's because the word "clot" is kind of gross? We should just brand it as Devonshire cream and I think everyone would be quite okay with that. I don't think clotted cream is going to make its way over to the States any time soon, unfortunately. Luckily for me, it's easy enough to make clotted cream at home. The most difficult part is sourcing heavy cream that hasn't been ultra pasteurized. You need to use a low-temp pasteurized cream for this, and I'll explain why below.
Ingredients [yields 1 pint]:
2 pints heavy cream - not ultra pasteurized

So, I found these little excerpts from old British cookbooks that explain the clotted cream making process. Basically, the goal is to gently heat the cream to encourage clots to form and then chill the clots to farther solidify them.
In the olden days, it was more difficult to control the temperature of an oven so the heating process was done on the stove with a carefully watched double boiler and you are definitely welcome to use this method today. However, with technology on our side now, we can control our oven temperature rather easily and have no obligation to "babysit" the cream, so that is the method that I prefer and that is the method that I am sharing.
Most grocery stores will only stock ultra-pasteurized cream, which is a process that heats dairy to 280F. That basically ruins the cream and prevents clots from forming; like the quote above says, "if it boils, it spoils." So, you will need to source a cream that has simply been "pasteurized" or even better, "low-temp pasteurized." I bought my cream from Whole Foods, looking specifically for low-temp pasteurized milk and ended up with two adorable bottles.
Grab a shallow pan and then chuck it into another shallow pan. I like using a ceramic pan because it distributes heat well and it does it more evenly.
Pour the cream into the dish.
And scrape in any clumps (a.k.a. clots) because the existing clots will act as a magnet for the milk fat to stick to and it will grow.
You want to leave the cream in the oven long enough for the surface to be filled with thick clotted cream that looks yellow and crackled.
Take the pan out and let it cool. Then, place the whole thing into the fridge to chill for at least 8 hours.
After it's been chilled, grab a slotted spoon and scoop the clotted cream off the surface. Apparently, the crackly top is quite good and loved by many a Brit and Scot, so make sure to salvage as much of it as you can. Oh, and save the liquid cream and use in your coffee or tea or whatever else.
So that's it; clotted cream is incredibly easy. It's a little time consuming, but really low-maintenance. Please come back because tomorrow, I'm sharing scones and I actually use some of this clotted cream!
Here's the recipe page:


Comments
Post a Comment
I'd love to hear what you have to say!